Follow these steps to setup Kongu_Wifi Wireless on Windows 8:
Go to the lower right corner of the Start screen. Click there to display the charms then select "Settings".

When the "Settings" display, click on the "Available" charm.
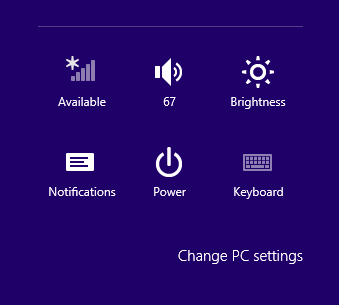
-
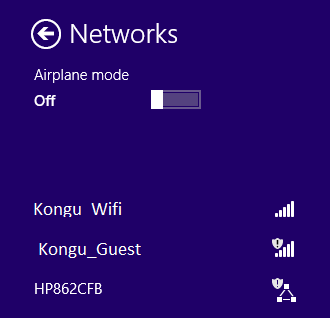
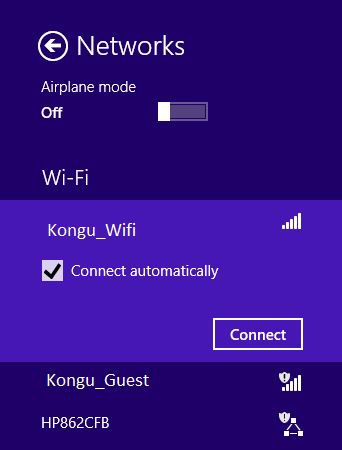
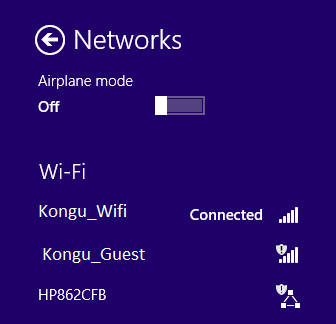
The list of available wireless networks will appear. Kongu_Wifi is the preferred secure wireless network to use.
Verify that "Connect Automatically" is checked. Then click on "Connect".
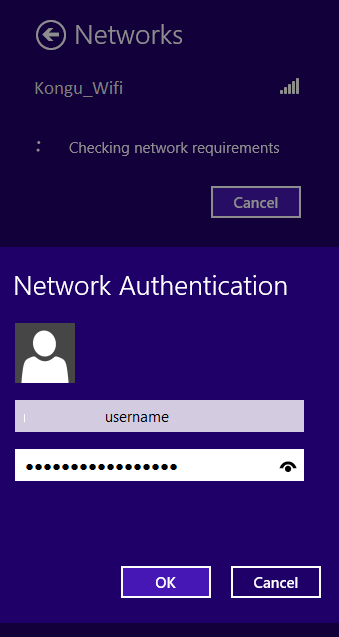
A "Network�Authentication" dialog box comes into view.
-
Enter your SSO username using the format of (netid) username and your SSO password.
Click "OK".
You may have to repeat the authentication process (steps 16 through 18) as many as four times to make the connection work correctly.
Look at the Wireless Network settings to verify the connection is completed.
-
The Kongu_Wifi wireless connection will work automatically when you are on campus and near a wireless access point (basically the whole campus).